
How to Create a Smooth 1-Year Daily Photo Timelapse (Without Spending 40 Hours Aligning Eyes)
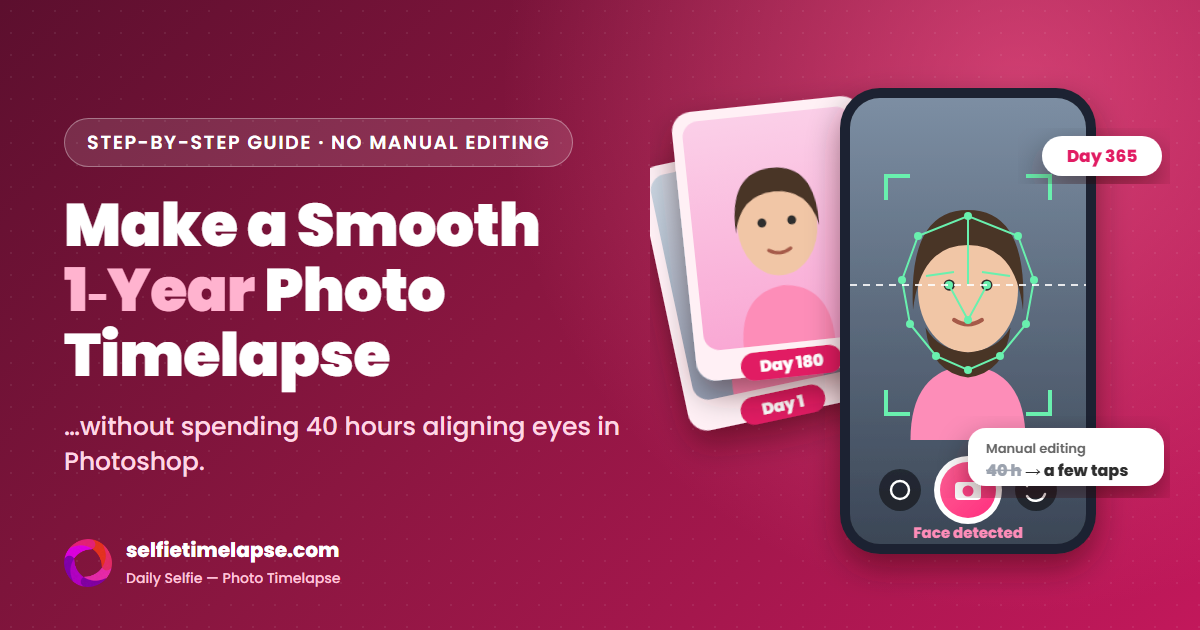
Starting a 365-day photo project is easy. Whether you're tracking a year of hair growth, a fitness transformation, a pregnancy, or just the quiet changes of everyday life, the first photo takes two seconds. The real challenge shows up on day 365, when you try to turn all those photos into a video.
If you've ever stitched a year of daily photos together in ordinary editing software, you know what happens. Without precise alignment, the timelapse looks like a flickering strobe light. Your eyes jump around the screen, your head grows and shrinks from frame to frame, and the lighting flashes between warm and cold.
Fixing that the old way means opening Photoshop or Premiere Pro, drawing guide grids, and rotating, scaling, and repositioning 365 photos one at a time. Creators on Reddit and other forums say this takes 30 to 40 hours. This guide explains why daily photo timelapses jitter, which capture habits prevent it, and how face alignment and AI morphing can replace the manual editing.
Key takeaways
- Jitter has three causes: your eyes move between frames, your distance from the camera changes, and the lighting changes.
- Aligning manually takes about 36.5 hours for a year of photos (365 frames × ~6 minutes each).
- Lining up each shot as you take it, with a ghost overlay or face guide, removes most of the tilt and scale errors before you ever edit.
- AI face morphing blends one photo into the next instead of cutting or crossfading, so you don't get ghosting or stop-motion jumps.
- At 30 fps, a video needs at least ~12 seconds to show all 365 days for at least one frame each.
The physics of frame jitter: why most 365-day videos are painful to watch
The human brain is very good at recognizing faces. When you watch face photos flash by at 10 to 30 frames per second, your brain expects the anchor points to stay still: the pupils, the bridge of the nose, and the line of the lips. If those points move by even a few pixels from one frame to the next, the sense of continuous time falls apart.
When the anchor points drift, viewers see three distinct glitches:
Pupillary jump
When your eyes shift up, down, or sideways between frames, the viewer's gaze has to chase a moving target. It strains the eyes right away and breaks the feeling of continuous time.
Focal scale distortion
Holding the phone 18 inches away on Monday and 20 inches on Tuesday changes how big your head is in the frame. A phone's wide-angle lens also changes your nose-to-ear proportions, so your head seems to inflate and deflate.
Luminance strobe
Warm bathroom bulbs one morning and cool window light the next make the color temperature flash. Over a long video, the flicker gives people headaches.
The math behind the 40-hour editing problem
Manual editing falls apart once you count the work. Every photo needs the same routine: import, crop, scale, fix the tilt, match the left and right pupil coordinates to a reference frame, adjust exposure, and render. A precise alignment takes about 5 to 7 minutes per frame.
365
photos in a year
× 6 min
to align each frame
2,190 min
of repetitive edits
36.5 h
almost a full work week
Unless you edit video for a living, spending more than 36 hours on pixel coordinates is a good way to abandon the project altogether. Most people who quit don't quit because they missed days; they quit because the edit at the end feels impossible.
Part 1: The 3 rules of flawless daily capture
Smart tools can do the post-processing, but better capture habits still improve the final video a lot. The less your daily photos differ, the less any algorithm has to fix.
1. Lock your pupil line with a ghost overlay or face guide
Never take a daily photo into a blank camera frame. Use a camera that shows a reference on top of the live view, then put your pupils and the bridge of your nose on that reference before you press the shutter. Lining up at capture time removes most tilt and scale errors before editing even starts.
The Daily Selfie camera has three guides, and you switch between them by swiping across the preview:
- Face mesh: a live landmark wireframe tracks your eyes, brows, nose, and jawline, so you can see whether your face sits inside the target box. Pinch to resize the guide, drag to move it, and double-tap to reset it.
- Grid: a center crosshair and rule-of-thirds lines. Put the crosshair on the bridge of your nose and keep your chin on the same horizontal line every day.
- Ghost overlay: your latest photo from the same collection, laid over the live camera at 30% opacity. Line up the inner corners of your eyes with yesterday's ghost and you're done.
2. Keep your distance the same; the background doesn't matter
You don't need a studio or a plain white wall. As long as your face fills the same share of the frame each day, a changing background just becomes fast-moving scenery behind you, which often looks great. Keep your elbow at the same angle when you shoot at arm's length, or use a small desk tripod with the capture timer (1, 3, or 5 seconds) when you shoot at home.
3. Use soft, indirect light
Avoid overhead ceiling lights and harsh side lamps. They cast deep shadows under your eyes and nose that move depending on where you stand. The best daily light source is natural, indirect daylight from a window, about 3 to 4 feet away and facing you.
Shooting at night? When you use the front camera, the color-lens button turns your phone screen into a soft ring light (white, pink, warm, and more). You get the same flattering light every evening, even with no daylight.
Part 2: From choppy cuts to fluid motion: AI morphing explained
Even with careful habits, small variations are unavoidable over 365 days: a slightly different head tilt, a new hairstyle, a camera angle a few degrees off. The transition you pick decides whether those differences show as jumps or disappear into motion.
Video creators have traditionally used two basic ways to stitch photos together:
- Hard cuts show each photo for one to three frames. They're fast and punchy, but over a long video they feel like abrasive stop-motion unless every frame was aligned perfectly.
- Standard crossfades dissolve frame A into frame B by changing opacity. During each transition the two faces overlap, so for a moment you see two sets of eyes and two noses. This is the "ghosting" double-exposure effect.
The modern solution: face-aligned AI morphing
Instead of only fading opacity, AI face morphing uses facial landmark detection to map dozens of key points across your face: the corners of your eyes, the bridge of your nose, the outline of your lips, your brows, and your jawline. To go from Day 45 to Day 46, it calculates a vector map that gradually warps the pixels of frame A until they line up with frame B, and it blends the colors at the same time.
The result absorbs the small differences in camera distance and head tilt. A series of separate daily photos becomes a single continuous transformation that looks like high-speed video, not a flip-book.
| Transition | How it works | Best for | Main drawback |
|---|---|---|---|
| Hard cut | Shows each photo for 1–3 frames | Fast, energetic recaps of all 365 days | Stop-motion jitter if alignment slips |
| Crossfade | Opacity dissolve between frames | Slow slideshows, landscapes | Ghosting: doubled eyes and noses |
| AI face morph | Warps facial landmarks from A to B | Beard, hair, skin, weight loss, aging | Designed for faces, not scenery |
A 4-step workflow for your 365-day transformation
Whether you're starting a project today or finishing one you've been shooting for months, this workflow saves time and gets the best quality.
Tie the photo to a habit you already have
Take your photo right after something you do every day, like brushing your teeth in the morning. Then set a daily reminder so you don't break the streak. In Daily Selfie you choose the exact time and days (every day, weekdays, or a custom mix like Mon, Wed, Fri). The home screen also counts down the hours left in the day and shows your current streak.
Keep each journey in its own collection
If you're tracking beard growth, a workout journey, and skin clarity at the same time, keep them separate. Mixing different angles and framings in one camera roll makes alignment less accurate. Use one collection per journey; the camera's collection switcher then always shows the right ghost overlay.
Batch-import the photos you already have
Already have months of photos in your camera roll? Keep them. Import them all at once and the app reads each photo's original capture date from its metadata (EXIF), so it lands on the right day of your timeline. Each photo gets a "Day N" badge in the gallery, and if one has the wrong date you can fix it by hand.
Export with automatic alignment and skip the editor
Skip Premiere Pro and Photoshop. Pick a video style, turn on face alignment, and let the app position every feature for you.
Choose the right video style
Daily Selfie has three video styles. Which one fits depends on your project:
- Smooth (AI face morph): best for subtle, slow-motion progress like beard growth, skincare results, or aging. It works best on a selected set of photos, for example one per week or one per month, so each morph has room to breathe. You choose the morph speed (Slow to Ultra fast) and the order (oldest → newest or the reverse).
- Simple (timelapse): best for a fast recap of all 365 days. Turn on Align faces so every frame is positioned for you automatically. You can also show dates, sync transitions to the beat of your music, and set the duration.
- Templates: pre-made edits you can drop your photos into, good for sharing on social media.
Finish with a date overlay. A small date stamp in the corner tells viewers how much time has passed, which turns a slideshow into a story. Add a consistent filter so every frame shares the same color grade.
How long should a 1-year timelapse be?
Fit the length to the platform. There's also a technical limit most guides skip: a video can't show more photos than it has frames. At 30 frames per second, a 10-second video has only 300 frames, so some of your 365 days would never appear. Anything shorter than about 12 seconds will skip days.
| Length | Best platform | Photos per second (365 photos) | Feel |
|---|---|---|---|
| 15 s | Instagram Reels, TikTok | ~24 | Punchy, high-energy reveal |
| 30 s | YouTube Shorts, Stories | ~12 | Each week is visible |
| 45 s | YouTube, personal archive | ~8 | Calm; you can watch day by day |
Which projects benefit most from aligned timelapses?
Any project where the change happens on the face benefits most from alignment and morphing, because the eye notices small shifts there most:
- Beard growth timelapse: morphing makes stubble look like it grows continuously. See the beard growth tracker guide.
- Hair growth and hair restoration: aligning the hairline at the same height every day makes progress visible. See the hair growth guide.
- Pregnancy bump timeline: use the grid guide to keep framing and distance the same week after week. See the pregnancy journey guide.
- Weight loss and fitness: keep the light and distance the same so the change is real, not an artifact of the camera. See the fitness transformation and weight loss progress guides.
- Skincare results: consistent light matters more than anything else here. See the skincare progress tracker.
Still choosing an app? Read our comparison of the 10 best apps to take a photo every day and make a video.
Frequently asked questions
How do I align daily photos for a timelapse without Photoshop?
Align them when you take them. Use a camera with a ghost overlay or face guide so your eyes land in the same spot every day, then export with an app that aligns faces automatically. Software that detects facial landmarks can scale, center, and rotate every frame so your pupils stay locked in the same position, with no manual cropping.
Why does my photo-a-day video look shaky?
There are three usual causes: your eyes sit in a different place in each frame (pupillary jump), your distance from the camera changes so your head size changes (focal scale distortion), and the lighting changes from day to day (luminance strobe). Fix the first two with capture guides and automatic alignment, and the third by using the same light source every day.
What is AI face morphing?
AI face morphing detects facial landmarks (eyes, nose, lips, jawline) in two consecutive photos and generates in-between frames that warp one face smoothly into the next. Unlike a crossfade, it never shows two overlapping faces, so you get no ghosting and no stop-motion jumps.
How long does it take to make a 1-year timelapse by hand?
Aligning 365 photos by hand at about 6 minutes per frame takes roughly 2,190 minutes, or about 36.5 hours. With guided capture and automatic face alignment, the editing step drops to a few taps.
Can I make a timelapse from photos I've already taken?
Yes. Batch-import them from your camera roll. The app reads each photo's original capture date from its metadata and puts it on the right day of your timeline. You can correct any date by hand if needed.
Do I need a tripod or a plain background?
No. A plain background isn't necessary; a changing background often makes the video more interesting. What matters is that your face fills the same share of the frame every day. A small tripod with a capture timer helps, but a ghost overlay at arm's length works well too.
Skip the 40-hour edit
Line up every shot with a ghost overlay, import the photos you already have, and export a smooth, face-aligned timelapse in a few taps. It's free.
Download Daily Selfie Free